


This post has been sponsored by the PRIMP Network. All opinions are my own.
Y'all, 2017 has been a doozy. Was it for you as well? I always say odd numbered years are bad luck for me, and this one has proven to be just that. Just this year I've dealt with depression, anxiety, a beloved job ending, various health issues, and more. It was enough to make me crawl into a hole.
But y'all, I can't live in the negative. That "poor me" attitude had to go. And that's when I decided to partake in the 21 Days of Positivity challenge. I found out about it through Pamprin.

In case you haven't tried it, Pamprin Multi-Symptom contains three active ingredients: an antihistamine to relieve irritability, a diuretic to fight against bloating and water weight gain, and a pain reliever to alleviate cramps. I get mine at Walmart.
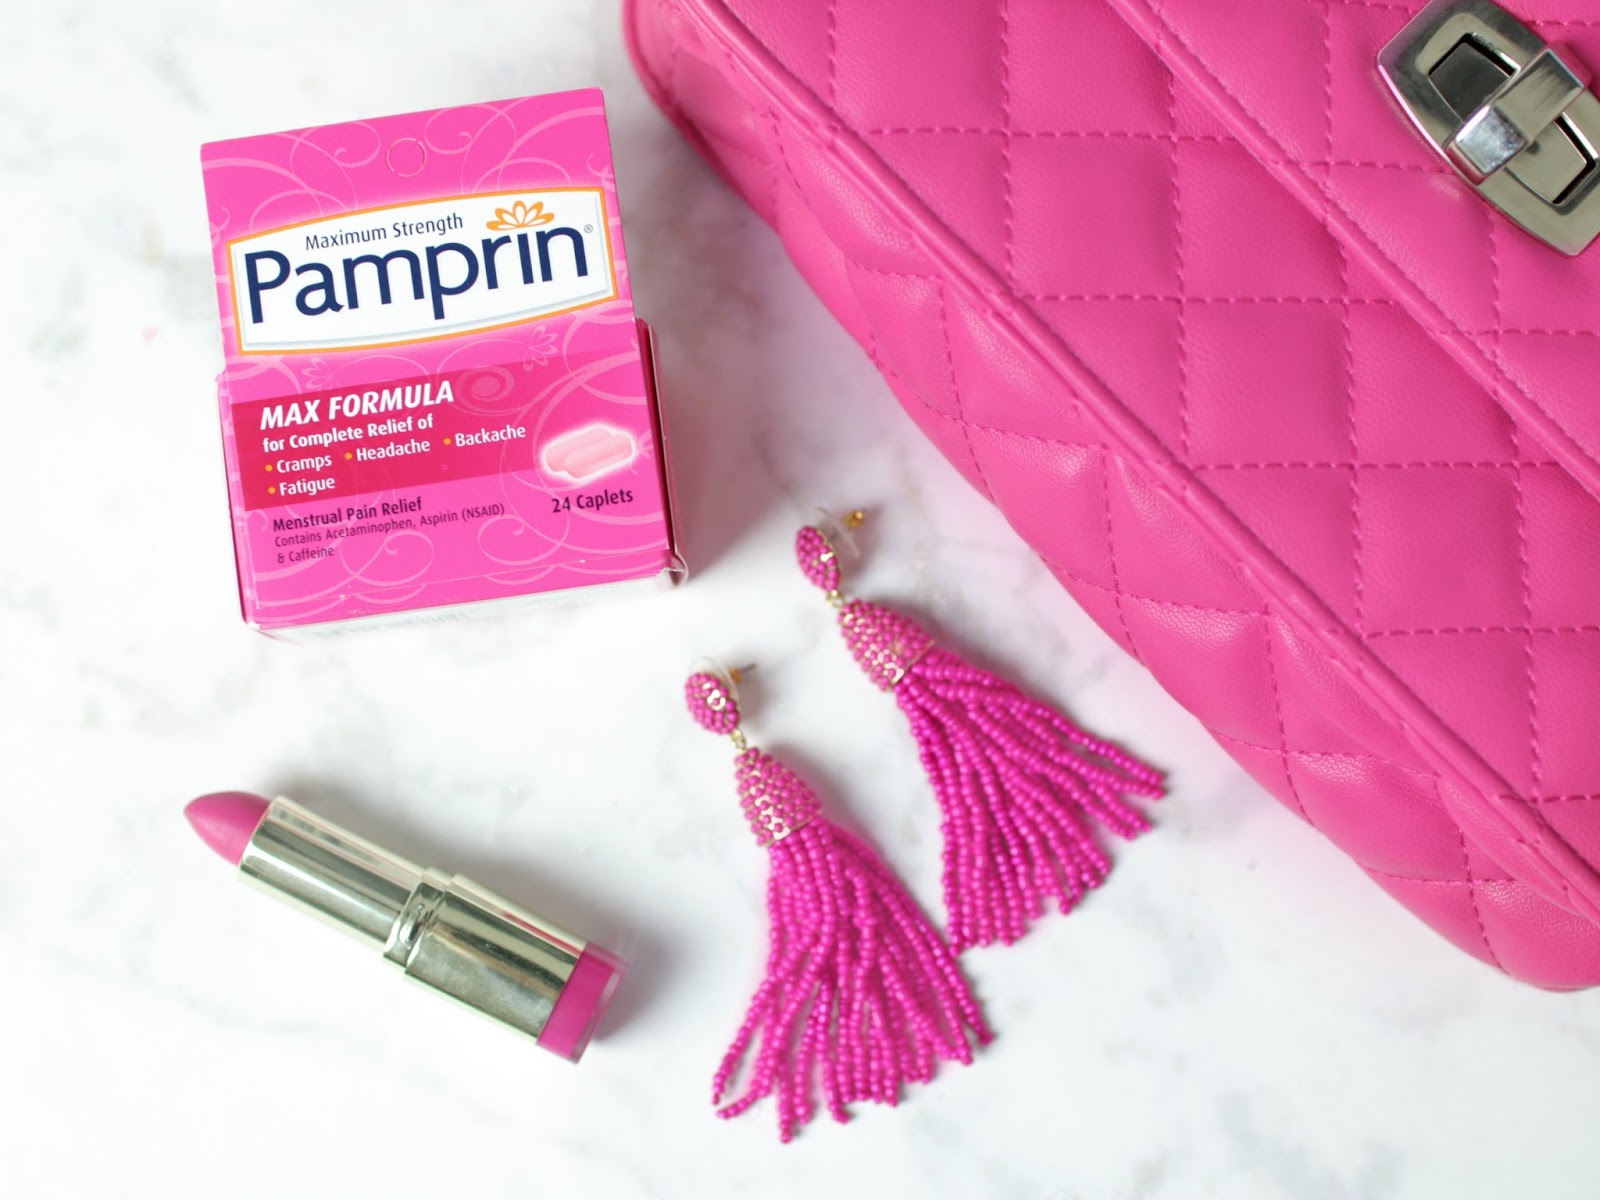
I like it because Pamprin Multi-Symptom has the same strength as Extra Strength Tylenol PLUS the added benefits of fighting against bloating and irritability.

Pamprin allows me to pamper myself during my period. And self-care is important, y'all! And speaking of self-care, that's where the 21 Days of Positivity comes in:

I'm already kicking off the new year with these positive changes! This is the BEST idea. Simply repeat all 7 days for 3 weeks. They say it takes 21 days to make a habit, and this is a great start. I keep my card on my mirror in my bathroom. These are easy little changes to incorporate into my day.
Here's an example, say, of Day 3: I have so many things to be thankful for! I lost 40 pounds, I got healthy after being sick with the flu and pneumonia, a new job that I am in love with, and I've gotten so much support over my anxiety.
I can't wait for 2018! I can't wait for more positivity! Will you take the challenge?